Photoshop for Beginners – Tips & Tricks to Get You Started

Have you ever found yourself in the following situation? You start off feeling excited and motivated with Adobe Photoshop – but within 20 minutes, you’ve closed the programme in frustration. The extensive range of functions has overwhelmed you and many of the terms made no sense. To help you fare better and ensure you don’t throw in the towel in frustration, we have Useful tips and shortcuts compiled. Here’s how to succeed with the Getting started with Photoshop much easier.
1 | Create file

Photoshop offers a wide range of different, pre-set formats and options. If, for example, you want to edit a graphic for the internet, the ‘Web – Large’ document preset in the ‘Web’ category is ideal. On the right-hand side of the Specification details You can give the document a name – in our case, ‘Logo’ – and adjust various parameters. Once you’re happy with it, click ‘Create’ and a document in 1920x1080-pixel format will open. It looks like this:

2 | Customise the user interface!
It’s quite possible that the interface looks different on your screen. Photoshop offers numerous options for customising the interface. This ranges from the colour scheme to elements such as Navigator, History, Layers, and much more. Under the menu item ‘Window’ You can select various elements and arrange them in the way that suits you best.
druck.at tip: The history shows the last 20 editing steps for the document. By clicking on a specific editing step, you can undo all steps up to that point, or redo them.

Usually, the Toolbar on the left-hand side of the workspace. There you can Tools required Select. Some of the buttons hide additional tools – you can tell this by the small triangle to the right of the icon. Clicking the right mouse button reveals the additional tools.
The most important tools to start with are the Move tool (1), the Crop tool (2), the Brush (3), the Eraser (4), the Fill tool (5) and the Text tool (6).
1) Move tool: Very useful for moving elements such as text, selection areas and layers, as well as their content
2) Crop tool: Used for cropping documents
3) Brush: Enables painting with digital brushes
4) Eraser: Used in the same way as the Brush tool, it precisely removes the desired content from a layer
5) Filling tool: This allows you to fill an area with the selected colour
6) Text tool: For inserting and editing text
7) Foreground colour: This colour is used when you use tools such as the brush
3 | Change the size of your document!
Of course, you can subsequently Change the size of your file. To do this, go to the menu and select “Image” → “Image size…” This window opens:

Please note: all existing image elements will also be scaled up or down. Do you simply need more space to work, So go to the menu and select ‘Image’ → ‘Workspace…’

This expands the editable area of your document, but all existing elements remain unaffected.
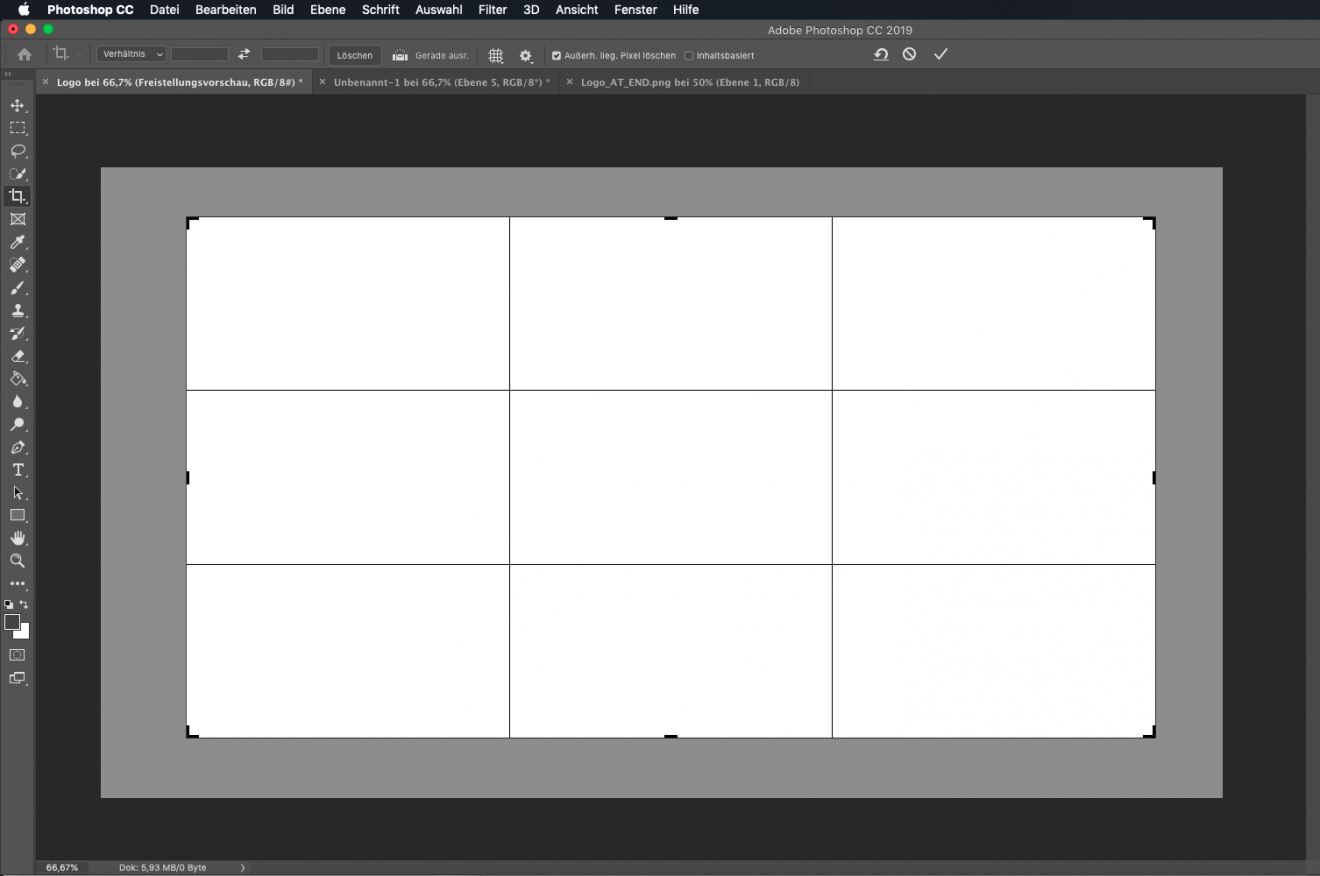
A Crop part of the image Of course, this works too. Select the Crop tool . Crop the image by either dragging a cropping frame whilst holding down the mouse button or by moving the corner and edge handles. The greyed-out area shows which parts of the image will be cropped out. Once you’re happy with the result, click the tick in the top right-hand corner or press ‘Enter’ to confirm your selection.
4 | Here’s how the layers work!

Levels make your work a whole lot easier. They allow you to Elements your project edit independently of one another, provided these elements are located on different levels.
1) Create a new layer
2) Delete level
3) The eye icon indicates whether the layer is visible or hidden

5 | The text tool!
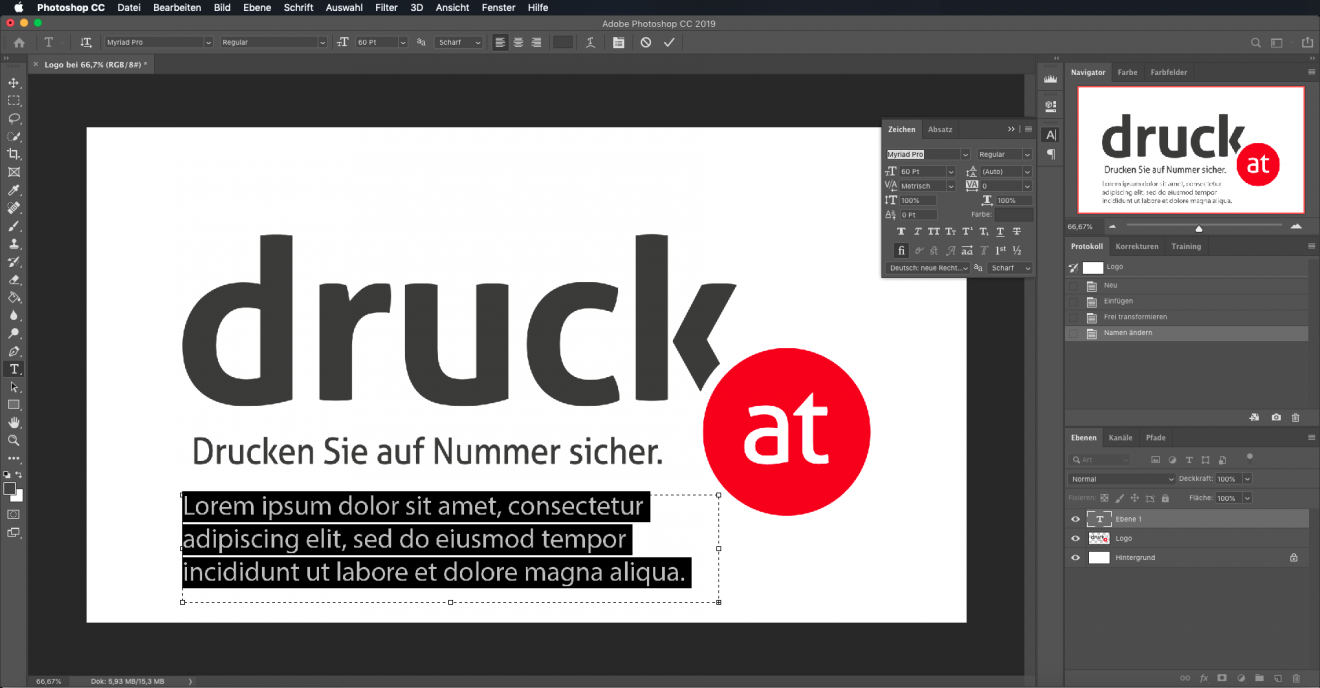
Select the Text tool (the capital T). You can either drag a text box or simply click where you want the text to appear in the document to insert text. In newer versions of Photoshop, the programme automatically inserts placeholder text. Click the tick once you’re happy with the text and its position.
Go to ‘Window’ and click on „Characters”, then the Character control panel (the capital A). There you can change the line height, font size and character spacing, as well as set formatting options such as capital letters, italics, bold, strikethrough, superscript or subscript.
Once you’re happy with your design and have finished, go to „File” → ‘Save As’… and choose the format in which you’d like to save your work, such as JPG, PNG, GIF or PDF.
Congratulations, you’ve Basic You’re all set to continue working with Adobe Photoshop! It’s a powerful tool with lots of different features and can seem overwhelming at first. But with patience, perseverance and the right guidance, you’ll soon become a Photoshop pro too. Don’t give up!
druck.at tip: Don’t forget to save your progress regularly!