From concept to print
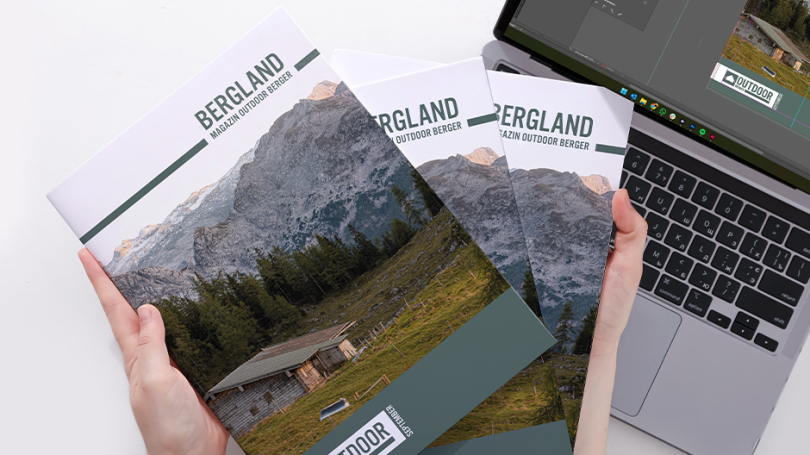
A Bringing an idea to life Turning your ideas into a high-quality printed product is an exciting and creative process. At druck.at, we help you turn your visions into reality and bring them to life perfectly on paper. In this blog post, we’ll not only give you Practical tips, but also show you what really matters. We’ll guide you Step by step, so that you achieve the best possible result – from the From design right through to printing.
1 | The right idea with the right printed product
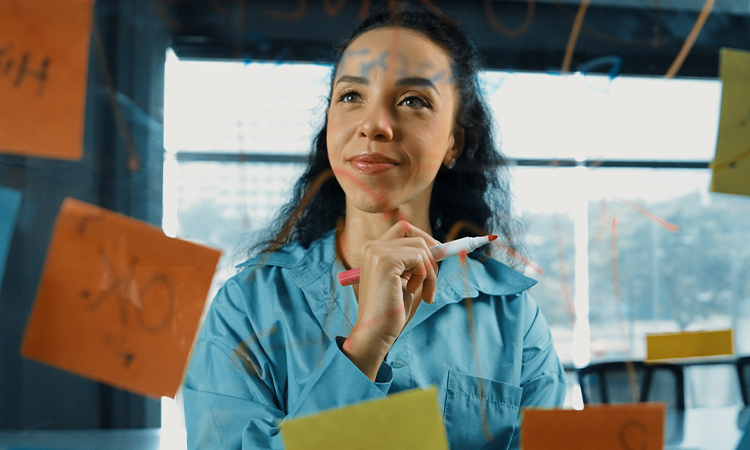
It all starts with an idea, but to ensure it can be successfully realised, you should first consider a few Basic questions Provide clarity. Consider, what you can do with your printed product want to achieve: Do you want to provide information, advertise or perhaps highlight a special event? Your The objective is a key factor the design and format. When doing so, also consider whether you whether you want to appeal to a broad target audience or specifically reach a particular group. In this case, a Flyer ideal for promotional campaigns, whilst a Roll-up is a professional eye-catcher at trade fairs and clearly conveys your message.
2 | Software and tools for preparing print files

It’s up to you which programme you use for the design. Professional software Programmes such as Adobe InDesign, Illustrator or Affinity Designer offer you many Creative design options. Alternatively, you can also use Canva or Microsoft Office. In our Blog post about the best graphics programmes (free and paid) You’ll find a good overview of the various programmes and their pros and cons. Do have a look!
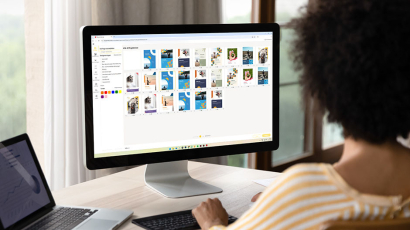
Another simple and user-friendly option is the druck.at Online Designer. This is available to you for many print products. Access countless images from our image database, colours, shapes and many other features to make your design unique.
druck.at tip: To help you get started, we’ve created a video showing how the Creating print files using our online designer It works. Have a look!
3 | Tips for error-free print files: What to look out for
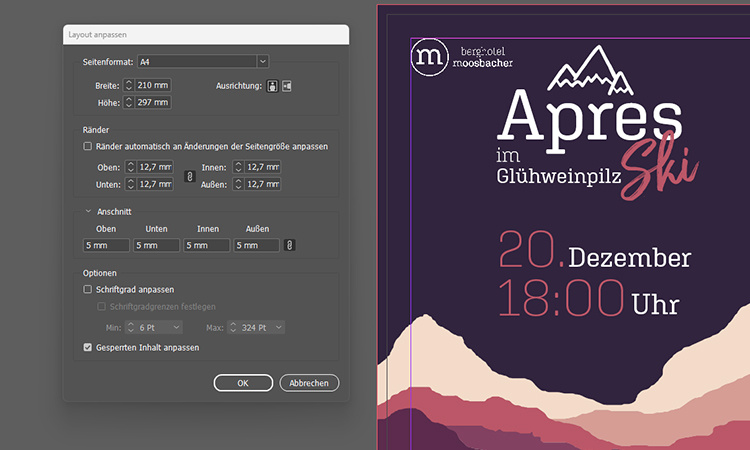
To ensure that your printed product turns out exactly as you imagined, there are a few small details to bear in mind. Once you’ve created your print files and followed our tips, you’re all set for Nothing stands in the way of flawless printing.
- File format: It’s best to send us your design as a PDF file. This format guarantees the compatibility and quality of your data. For image files, you should always select the original size and ensure a resolution of at least 200 dpi and no more than 360 dpi.
- Bleed: On the relevant product page, under the ‘Data Preparation’ tab, you’ll find guidelines for your print data. Please follow these to ensure a flawless end result.
- Colour space: The CMYK colour space is used in printing. Please ensure that you always create your print files in the CMYK colour space. When working with the Colour management… you soon realise that not all colours are the same.
druck.at tip: The Creating print files It’s easier than it sounds. Why not take a look at our blog post and find out how you can do it in no time at all.
4 | Uploading print files: Here are your options
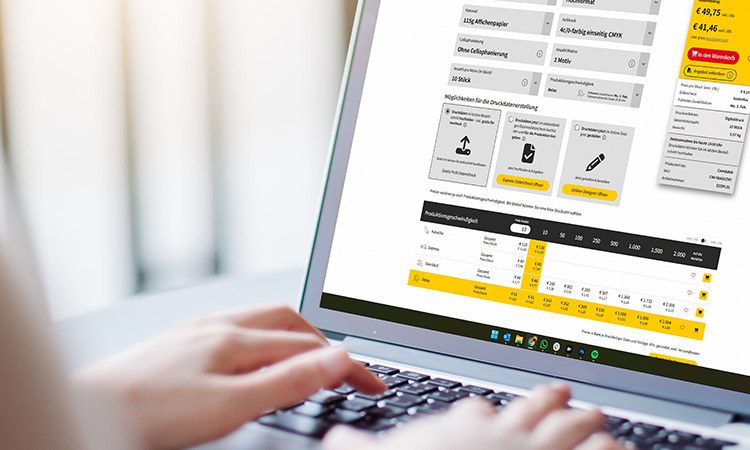
At druck.at, we offer you various ways to create and upload your print files. Please note that not all of our more than 200,000 products every option is available.
- Upload print files in the final step of the ordering process: Once you’ve uploaded your print files, you can opt for a free file check by our experts. Your print files as Image or Office files are converted to PDF before printing and sent to you one last time by email for approval.
- Self-service express data check: If you’re sure of your design and need it done quickly – upload your final print files directly as a PDF or image file, check them yourself and then approve them for production.
- Design print files using the online designer: Our user-friendly online designer is available for many products and allows you to create print files in no time at all. Your design is checked immediately for accuracy and, once the order has been successfully placed, is forwarded directly to production.
druck.at tip: Need a bit more time to prepare your print files? No problem! Upload your print file up to 30 days later Early – so you’ll have plenty of time to perfect your design.
From production to delivery
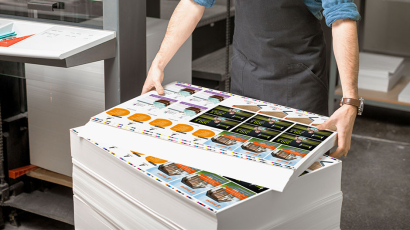
We take care of the final steps. Once the print files have been uploaded, the items are printed, cut to size, packed and dispatched. Would you like to know exactly, how the production process works? We’ll give you a A look behind the scenes and let you be part of our calendar production. Discover it now!